4 Powerful Ways to Restore Dull Knives Fast
A blunt knife is not only annoying. It’s actually dangerous. It is so much harder when you’re trying to chop with a knife that has lost its ability to slice through. That pressure can make the knife slip and cut you instead of your food.
The good news? You don’t have to spend a lot or crane your wrist at a special angle to sharpen dull knives at home. With just a couple of simple practices and basic tools, you can restore that knife’s edge in minutes. Whether you are cutting tomatoes, onions or dicing meat, a sharp knife is more enjoyable and safer to use when cooking.
In this post, we will share 4 effective methods to sharpen dull knives fast. Each method uses different tools, and some are easier than others, so you can choose what fits best.
Why Knives Go Dull to Begin With
Before we get into the methods of sharpening, though, let’s do a little primer on why knives even lose their edge. The edge of your knife is made up of tiny metal atoms in a particular pattern. Each time you slice anything, these particles are bent, chipped or worn.
Hard cutting boards like those made of glass or ceramic wear down knives more quickly than their softer counterparts in wood or plastic. Dishwashing knives also dulls them fast because they clank against other utensils. Even simply slicing acidic ingredients such as tomatoes and citrus can dull a blade over time.
The metal edge is blunted, rather than sharp. This dulling of a blade is due to the roundness, which can’t neatly push into food.
Signs Your Knife Needs Sharpening
How can you tell when to revive dull knives? Here are some clear signs:
- Your knife smashes through tomatoes rather than glides easily beneath skin
- You need to move and saw back and forth with the knife on soft bread
- Onions are squished and release more juice than otherwise
- The blade cuts or pulls the skin off of peppers instead of slicing through
- You’re putting more weight on it than ever when cutting
The paper test is an easy one. Grab a piece of paper by one corner and see if you can slice through it with your knife. A sharp one will cut cleanly. A blunt one will shred the paper or slip off without cutting.
Method 1: The Honing Steel Trick
Many people mistake honing for sharpening, but they are two different things. Honing does not remove metal from your blade. Instead, it straightens the edge which is distorted. Think of it as combing your hair. You’re not making your hair shorter — you’re just moving it back into place.
What You’ll Need
- A honing steel (the long rod that was included in your knife set)
- Your dull knife
- A flat surface to work on
Step-by-Step Process
- Hold the honing steel vertically with the tip on a cutting board or cloth. This is what makes it sturdy and secure. Hold the handle well up in the grip.
- Hold the knife in your other hand. Place the heel (the part of the blade nearest the handle) against the top of steel. Hold the knife at roughly a 20 degree angle to the steel. This angle is crucial for results.
- Sweep the blade down and across that steel in one swift motion. You should finish with the tip of your knife on the bottom of the steel. Apply light to medium pressure. You are not trying to grind metal away. Just straighten the edge.
- Do this five to 10 times on one side of the blade. Then reverse and take a similar number of strokes on the other side. You will hear a ringing as the metal of one strikes the other. That’s normal.
When to Use This Method
Honing is an option for knives that are just a little dull from regular use. You don’t need to sharpen your knives as often if you hone them every few weeks. Even line cooks hone their knives before service.
Honing can’t save a knife that’s truly dull or damaged, though. Real sharpening takes metal away to create a new edge.
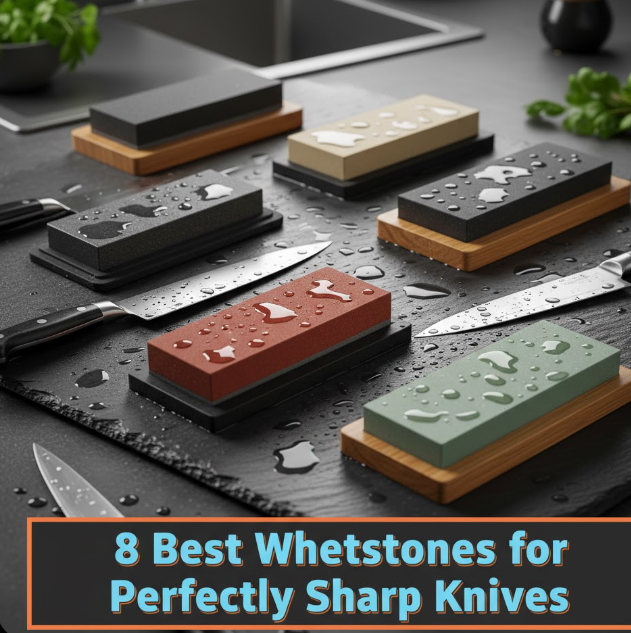
Method 2: A Sharper Edge Using a Whetstone
One of the oldest and most effective ways to breathe new life into dull knives is with a whetstone. This is a rectangular stone with several grits (roughness levels) that grind down metal and reshape your blade’s edge.
Choosing the Right Whetstone
Whetstones are available in various grits. Smaller numbers indicate rougher stones that remove more metal. Finer numbers are higher and result in a polished edge.
Grit Guidelines:
- 400-1000 grit: Extremely Dull/Damaged knives
- 1000-3000 grit: For regular sharpening
- 4000-8000 grit: Used for polishing or finishing
Most home cooks can get by with a two-sided stone that’s 1000 grit on one side and 3000 to 6000 on the other.
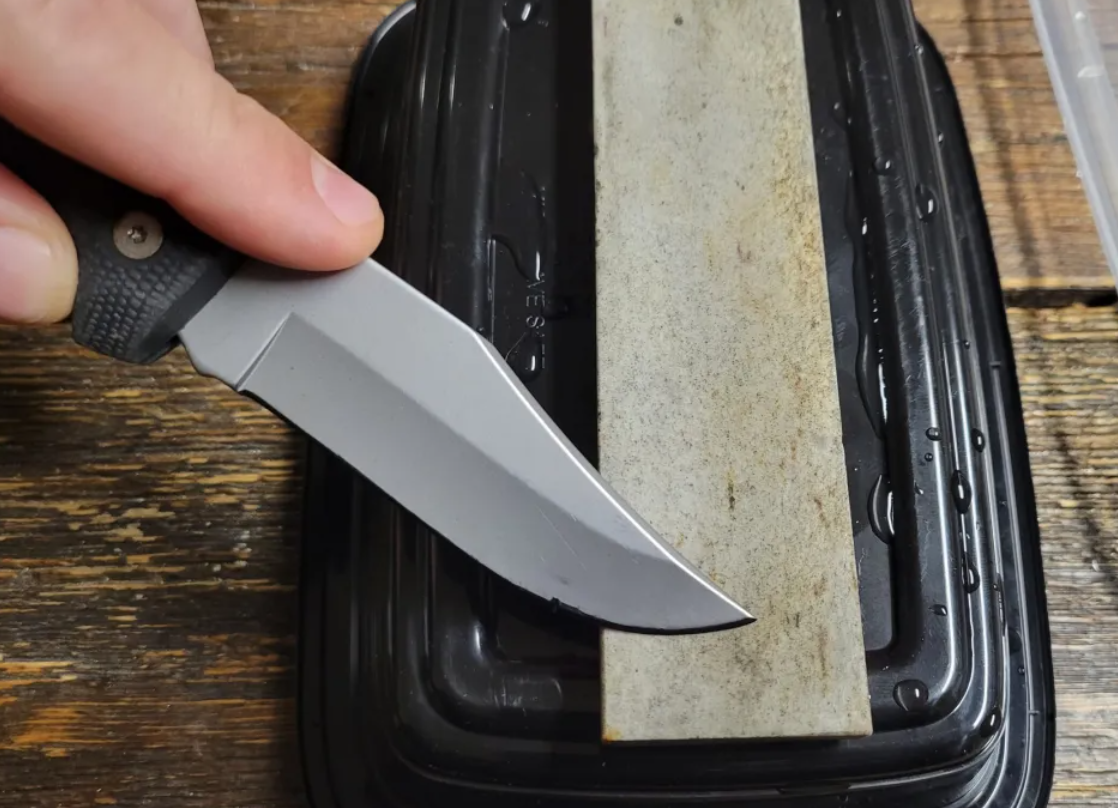
The Sharpening Process
- Soak your whetstone in water for 10-15 minutes. Certain stones also require oil, not water, so consult the instructions. The liquid also acts as a barrier, keeping metal residue from clogging the surface of the stone.
- Place the wet whetstone on a damp towel to prevent sliding. If your knife is extremely dull, begin with the coarser side.
- Place the knife at a 15-20 degree angle to the stone. One good trick here is to slip two coins under the spine of the blade. That should give you approximately the right angle.
- Use the whole blade, push it down and pull across the stone from right to left while pulling back with your hand (if you are standing on the entry surface facing into your house). Stroke from the heel to the tip in one long movement. Apply steady pressure. You should feel the blade rubbing on the stone.
- Repeat 10-15 strokes on the other side. Wet the stone by splashing water on it.
- Once both sides have been worked evenly, flip to the finer grit side. Try again with less pressure. This hones the edge that you have created.
Testing Your Work
Get your blade wet in the sink, and then ever so gently run it over with your thumb tracing on the side of the blade (but not along the sharp edge). It should feel sharp, and just a little catch on your skin. If you press too hard, you’ll cut your finger.
Try the paper test again. If you have a sharp blade, it will cut paper like butter.
Method 3: Pull-Through Sharpeners for Quickness
Don’t have time for whetstones? Pull-through sharpeners provide a quick way to resharpen a dull knife. These little devices have preset angles, and are designed to sharpen your blade as you pull it through the gadget’s abrasive material.
How They Work
Pull-through sharpeners have at least two slots. Individual holes hold sharpening stones at the perfect angle for knives. Some are made of ceramic rods, others carbide or diamond-coated steel.
The simple ones have only one or two slots. Higher end models also include a slot for coarse sharpening and one for fine honing.
Using a Pull-Through Sharpener
- Set the sharpener on a level and stable work station. A lot come with non-slip feet or suction cups to hold them in place.
- Insert the butt of your knife in between. Glide the blade toward you in a smooth motion with light downward pressure. The knife should go through (heel to tip) in a single stroke.
- Repeat this 3-5 times to maintain blades or 8-10 times if the blades are already fairly dull. Some sharpeners have a coarse slot and a fine slot, which you would pull through in that order.
Pros and Cons
Pros: Pull-through sharpeners are extra convenient and user-friendly. You’re not thinking about angles or mechanics. They’re also compact and affordable.
Cons: They take off more metal than you need to, cutting down the life of your knife. Your knife may not exactly match the preset angle. And they work poorly on Japanese knives or knives with custom blade profiles.
Use pull-through sharpeners for at-home maintenance and touch-ups on kitchen cutlery. Keep whetstones or professional sharpening for your priciest or most precious knives.
Method 4: Electric Knife Sharpeners
Electric sharpeners are the power tools of knife sharpening. With motorized abrasive wheels or belts, they sharpen dull knives quickly.
What Makes Them Different
In an electric sharpener, disks covered with abrasive material spin around. When you slide your knife in, these rotating grind wheels simultaneously sharpen both sides of the blade.
Quality electric sharpeners have a step-up process, similar to what we described above. The coarse abrasives do most of the work in reshaping the edge in stage one. Finer and finer materials are then used in subsequent stages to further refine and polish.
Operating an Electric Sharpener
- Insert the sharpener and switch it on. You’ll hear the motor running.
- Insert your knife in the top slot, with the heel of your knife first. Draw it through as slowly and evenly as possible. The instructions should specify what pressure you need to apply, but generally this involves at least 3-5 runs through.
- Shift to the next slot and do the same. Proceed by following all stations up to the last polishing stage.
A lot of electric sharpeners have little guides that help keep your knife at the right angle. Just let the arrows point the way and give you instructions.
Best Use Cases
Electric sharpeners are very good for putting a sharp edge on knives when you have 20-odd blades to sharpen and not much time. They’re reliable and not difficult.
They’re perfect for active kitchens, restaurants or people with many knives. It’s a good investment if you’re sharpening knives frequently.
But they’re costly relative to other solutions. Cheap models might strip too much metal or create uneven edges, damaging your knives. Quality matters here, so do your research before purchasing. Learn more about professional knife sharpening techniques to see what works best for your needs.
Comparing All Four Methods
| Method | Speed | Cost | Skill Level | Best For |
|---|---|---|---|---|
| Honing Steel | Very Fast | Low | Easy | Ongoing maintenance |
| Whetstone | Slow | Low-Medium | Moderate | Highest edge quality |
| Pull-Through | Fast | Low | Very Easy | A quick fix |
| Electric | Fast | High | Easy | Multiple knives |
Each method has its place. It’s fairly common for people to use honing steel as part of their regular routine, whetstones for more serious sharpening some times annually or so and keep a pull-through sharpener on hand in case of emergency.
Keeping Knives Sharp Longer
Once you’ve resurrected a bunch of dull knives, you’ll want them to stay sharp. Here are proven tips:
- Opt for wood or plastic cutting boards over glass, ceramic and marble. Hard surfaces dull blades quickly.
- Wash your knives by hand and promptly dry them. Never toss them in the dishwasher, where they’ll clang against other items.
- Keep knives in a proper knife block, on a magnetic strip or with blade guards. If you throw them in a drawer, it damages the edges.
- Use the proper knife for the right job. No hard candy, tugging through bones or frozen food.
- Maintain your knives between each use. This maintains the edge and ensures its function.
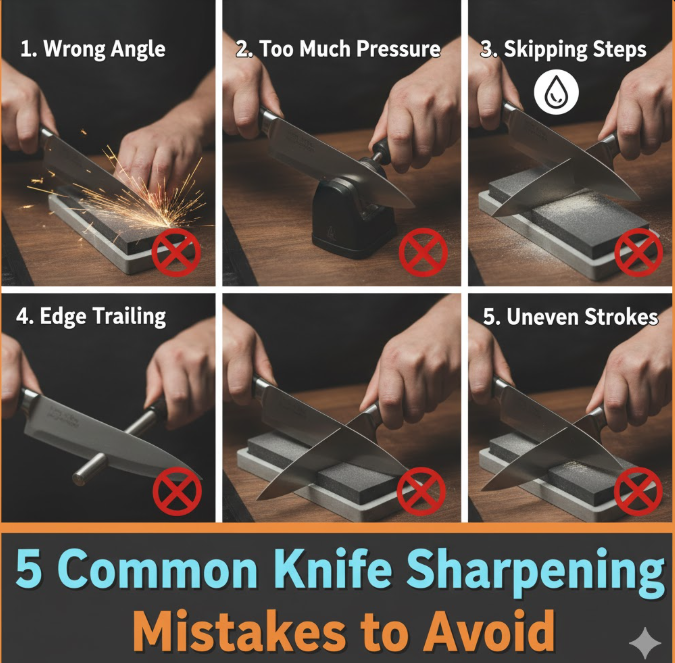
Common Mistakes to Avoid
If you try to resharpen those dull knives, watch for these mistakes:
- Wrong Pressure: It’s a balancing act between putting too much pressure on your sharpening stone (which removes excess metal and can damage your blade) and not enough. Let the stone do the work.
- Inconsistent Angles: Inconsistent angles form an uneven edge that just won’t cut. Choose an angle and stick with it when you sharpen.
- Rushing: Rushing through the process never works well. Be patient, particularly with whetstones.
- Uneven Sides: Failing to sharpen the two sides evenly results in a lopsided edge. Count your strokes and alternate sides.
- Skipping Maintenance: Overlooking regular maintenance will only mean you need aggressive sharpening in the future. Hone frequently in order to prevent this.
Safety Tips for Knife Sharpening
Be careful when using cutting instruments:
- Always cut or sharpen in the opposite direction of your body, never toward it.
- Keep your fingers behind the blade edge. Focus on what you’re doing.
- Work in a well-lit area for best visibility.
- Fasten your sharpening tool to prevent it from slipping.
- Be cautious about how you test sharpness, as people often accidentally cut themselves when they brush a finger along the edge.
- Keep sharpening tools away from children.
- Clean up metal shavings and filings immediately to prevent them from ending up in food.
Frequently Asked Questions
How frequently is it necessary to sharpen kitchen knives?
How often you should sharpen if regularly used? Most home cooks’ knives do need to be sharpened every 2-3 months. Sharpen them once a week with a steel to keep the edge until sharpening. Heavy usage necessitates sharpening more often.
Is there a way I can also use to sharpen my other different knives that have become dull?
Most techniques are effective on a variety of standard kitchen knives, but serrated knives call for special tools. Japanese knives have angles different from Western knives. Before sharpening, make sure to look at your knife’s specifications.
Can you over-sharpen a knife?
Yes. Over-sharpening can also waste metal and shorten the life of your knife. Only sharpen as needed, and hone on a regular basis to push time between sharpenings.
Why should I hone instead of sharpening?
Sharpening abrades new edges into shape. Think of honing as the maintenance work, and sharpening as restoration.
Are professional knife sharpening services better than those that are done at home?
Professional sharpeners have professional tools and a lot of experience, which give quite better results. But by learning to rejuvenate dull knives at home, you’ll save money and be able to keep your tools in top shape all the time.
With ceramic knives, can they also be sharpened in the same manner?
No, ceramic knives take diamond abrasives and proper method and technique to sharpen. Like most home sharpening options, it is only good for steel blades. Send ceramic knives to professionals.
Finishing Your Knife Restoration Journey
A good knife changes the way you cook. Things that used to be work feel effortless and fun. You’ll prepare food faster, with cleaner cuts which will make your dishes look better.
Now you have learned some strong methods to bring dull knives back to life at home. Use honing steel to maintain sharpness between sharpenings. Progress to whetstones when you’re ready for top-quality results. For speed, keep a pull-through sharpener around. If you have multiple knives, consider an electric model.
So it’s less about which you choose and more about using it consistently. A knife kept somewhat sharp all the time is better than a knife rarely perfectly sharpened.
Keep in mind, sharpening a knife is one of those things you get better at as it becomes more familiar. Your first few tries might not work out perfectly, and that’s okay. With every sharpening, you’ll have an easier time feeling the proper angle and pressure.
Begin today, using whatever method makes sense in your budget and within your comfort zone. Your knives, your fingers and your cooking will be so much the better for a set of blades that just go through food as they’re supposed to. The distinction between dealing with dull knives and cutting through with sharp ones is so significant, and it’s such little effort to gain this sort of knowledge.